How to order your first case

Your Complete Guide to a Smooth and Simple Process

Page 1 · 1. Identify Your Case & Ready for Scan
1 / 6

1. Identify Your Case & Ready for Scan

Confirm the implant location and choose the correct scan scenario before collecting files.

Step 1

Case identification flow
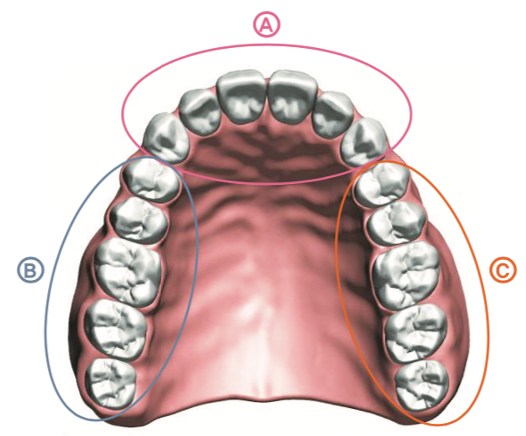
Mouth section map showing A, B, and C implant zones

Implant location sections

Use the section map to identify where the implant should be placed before matching the patient to the correct scan workflow.

A: Canine to Canine B: Premolar to Molar C: Premolar to Molar

Case-zone review and micro steps before scanning

  • 1 Determine the implant section Decide where the implant should be placed within section A, B, or C.
  • 2 Review the existing restorations Check the missing-teeth pattern and the current restorative condition in the chosen section.
  • 3 Confirm the right workflow Match the patient to the Normal, Marker, Denture, or Splint path before moving to file preparation.
Page 2 · 2. Prepare your scan data : IOS & CBCT
2 / 6

2. Prepare your scan data : IOS & CBCT

Prepare both IOS and CBCT with the correct scan method, quality checks, and export format.

The 2 scan files you need to prepare

Before moving into the detailed workflow, make sure you have both scan sources ready: the IOS file for the digital impression and the CBCT file for the radiographic planning data.

DIO Smart P Intraoral Scanner product photo
IOS scanner This is the intraoral scan source you will export as STL for the portal workflow.
CBCT scan image
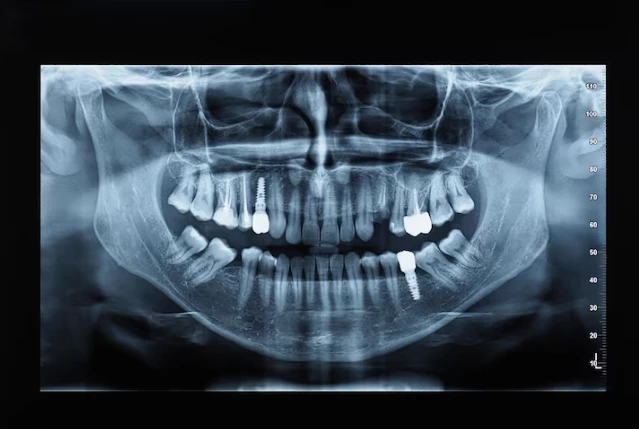
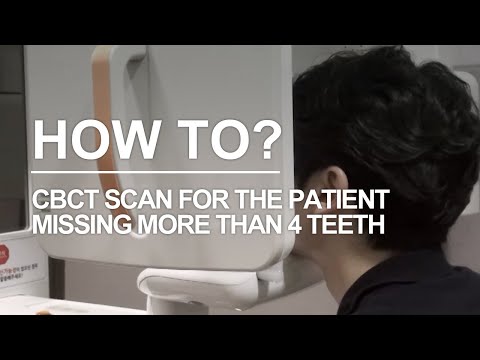
CBCT This is the radiographic scan source you will export as DCM or DICOM for DIOnavi planning.
2-1

IOS Scan

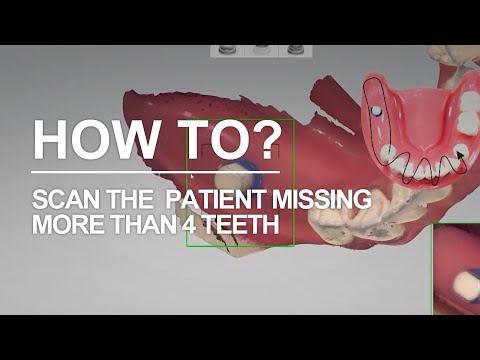
4 IOS scan situations

  • Normal Case: Fewer than 2 missing teeth in the selected section, so follow the standard scan.
  • Marker Case: 2 or more missing teeth in the selected section, so scan with markers placed on crowns or in the partially edentulous area.
  • Denture Case: The patient wears a denture with ideal vertical dimension of occlusion, so scan with the denture in place.
  • Splint Case: The patient does not have ideal vertical dimension of occlusion, so scan using a splint.

Intraoral Scan (IOS) Requirements

  • Arch being implanted: perfect, full-arch scan with no distortion and no holes.
  • Opposing arch: it does not need to be perfect, but it must be good enough for an accurate bite scan.

Tips & Technique

  • Watch the screen, not the patient's mouth. If it loses tracking, back up to an already-scanned area and restart from there.
  • Use a lip retractor, preferably the Obate brand, and coat both the retractor and the scanner tip with Vaseline so it does not catch on tissue.
  • Scan in grayscale or monochrome so distortion shows up more obviously than in color. Most scanners have a color-wheel toggle for this.
  • Rainbow scanning: right-handed operators start on the patient's left side and pull toward themselves, begin at the occlusal surface of the two most distal teeth, roll buccal or lingual, wiggle to capture embrasures, then sweep distal and repeat across the entire arch.
  • Capture as much surrounding tissue as possible, ideally 3 mm or more on either side, and always scan the palate when scanning the upper arch.

Final checks after finishing the scan

  • Bite scan: verify the bite in the scanning software matches the patient's actual bite so restorability and force distribution stay accurate.
  • Distortion check: do one final pass, especially at the incisal edge, to confirm a clean merge.
2-2

CBCT Scan

CBCT workflow visual Use this area for the CBCT field-of-view guide, motion example, and cut-off checks.

CBCT Scan Requirements

  • Field of view: 8x8 or larger.
  • Capture the full upper and full lower arch, from the sinus down to the chin.

Check before the patient leaves

  • Movement: any patient movement creates a ghost image beside the true image, so check by scrolling through the anterior slices.
  • Prevention: have the patient close their eyes, and for elderly or shaky patients, let them sit in a chair to reduce movement.
  • Cutoff: make sure the sinus, chin, and anterior teeth are not cut off because the field was too small.
Quality checkpoint

Always check CT quality before the patient leaves the office.

Page 3 · 3. Take a photo
3 / 6

3. Take a photo

Take the facial and intraoral photo set for full arch cases in the exact viewing order below.

Step 3-1

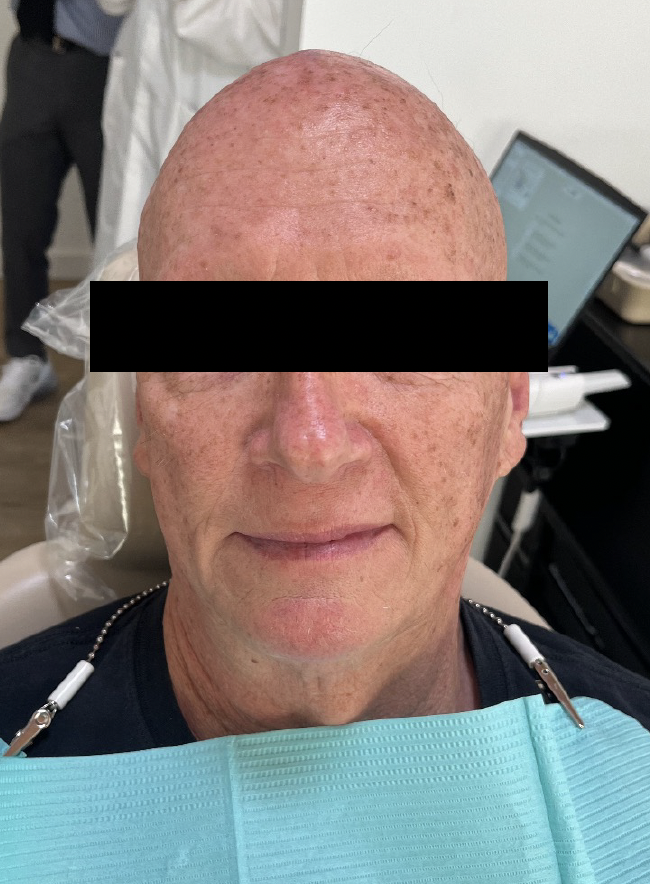
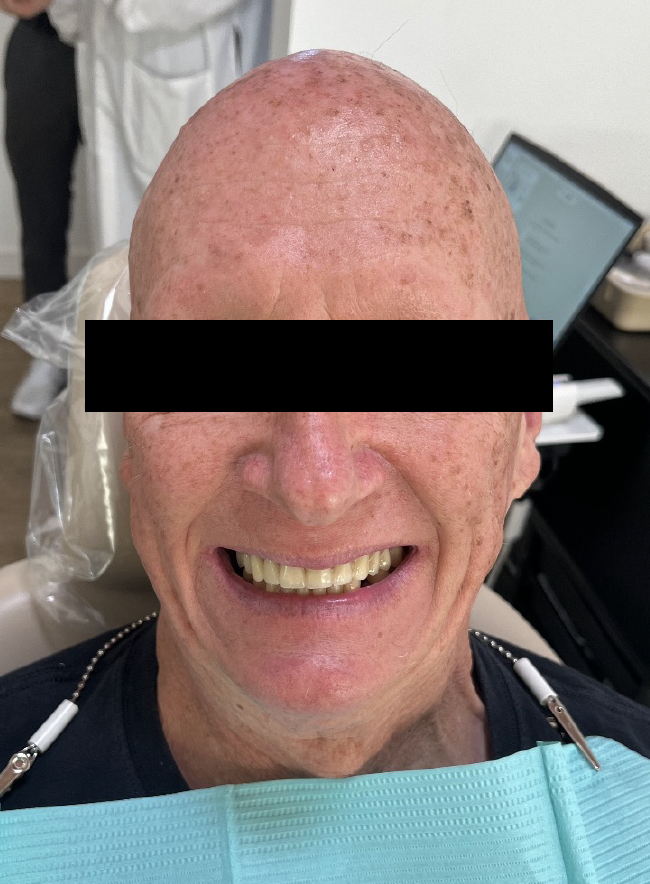
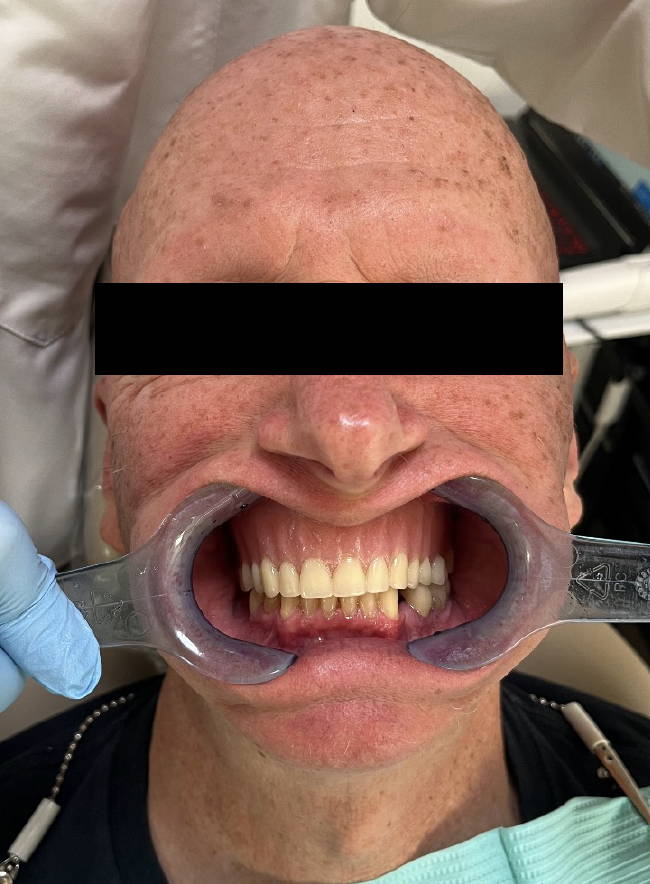
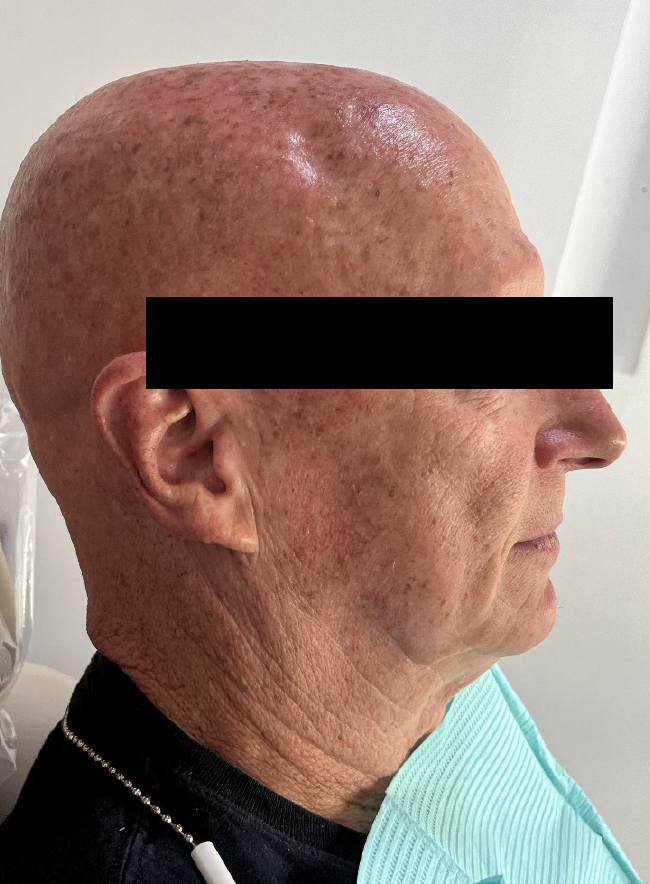
Facial Photos

  • 1 Front Take the straight-on portrait first.
  • 2 Front Smile Capture the smiling view before retracting.
  • 3 Front Retract Use a cheek retractor so the full frontal retracted view is visible.
  • 4 Lateral Finish the facial set with the lateral profile view.
Caution
  • The patient's eyes should look at the camera lens.
  • Make sure the mid-line shows on the pictures.
Step 3-2

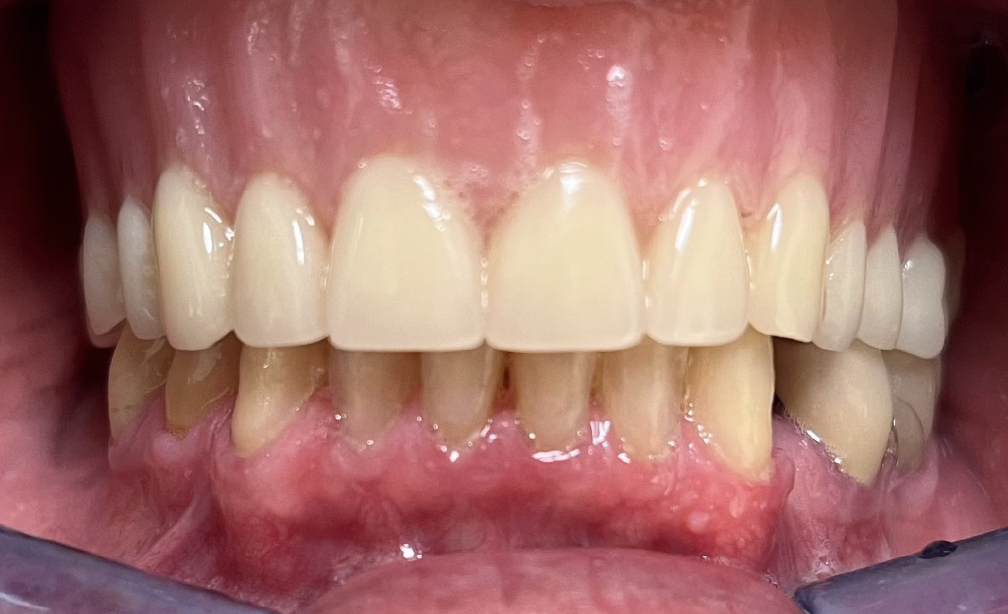
Intraoral Photos

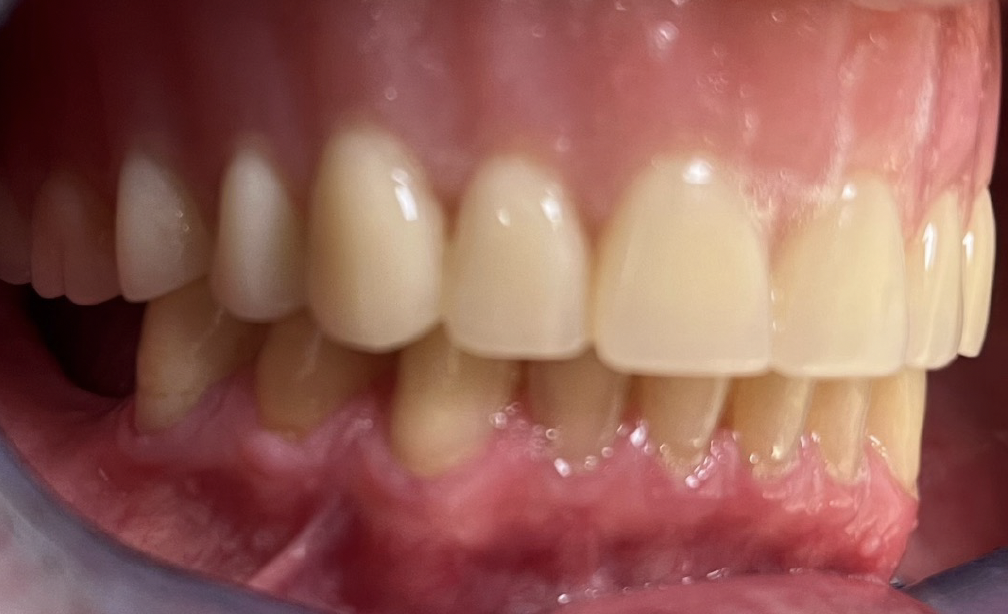
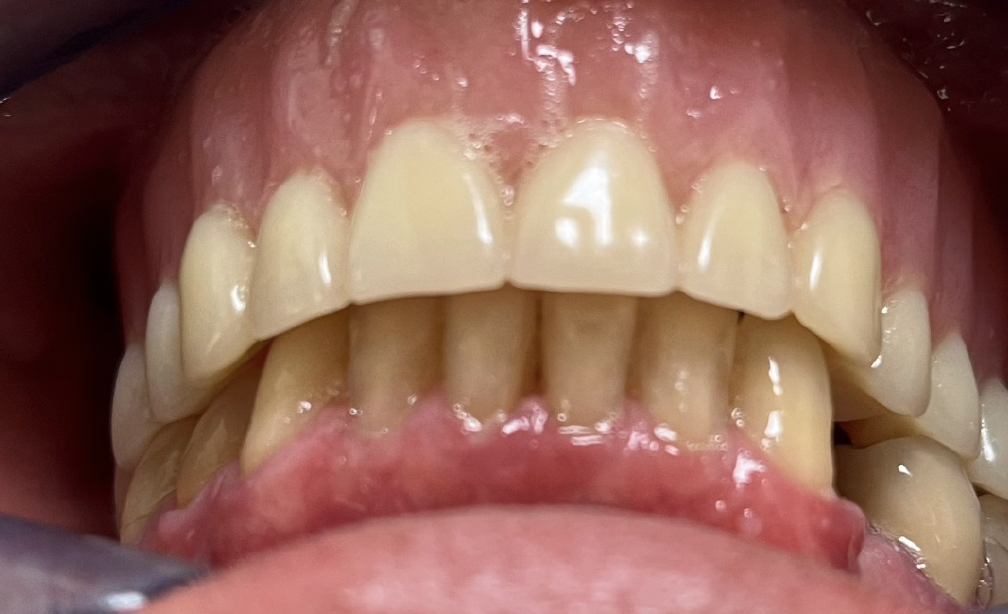
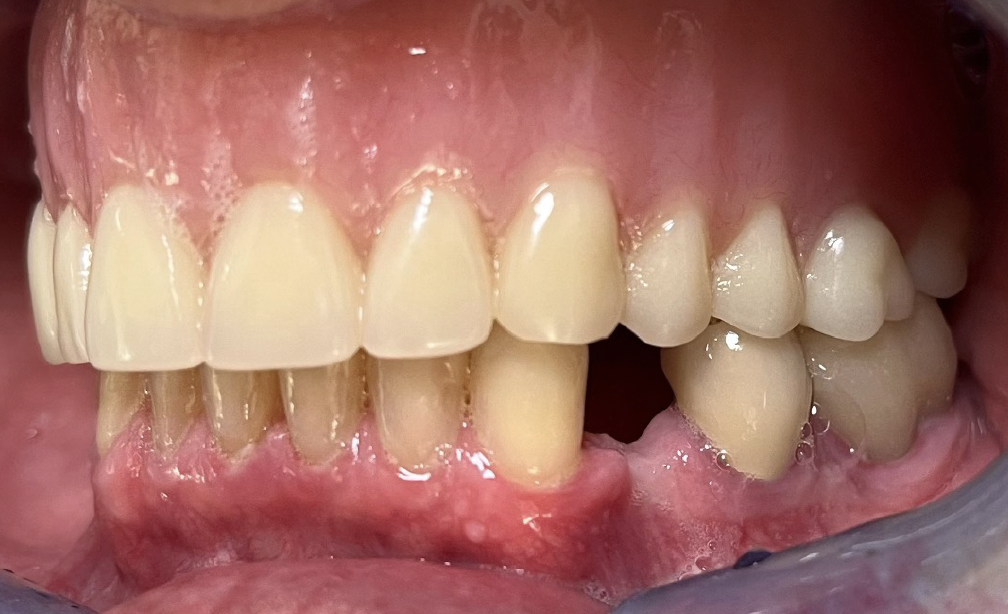
  • 1 Front Start with the direct frontal intraoral image.
  • 2 Lateral Capture the lateral intraoral view for side reference.
  • 3 Over Jet Finish with the overjet reference image.

Both lateral references are included so the frontal, side, and overjet views stay visible together in one gallery.

Page 4 · 4. Collect scan data & order submission
4 / 6

4. Collect scan data & order submission

Export, zip, and gather every file on the same computer before starting the upload.

Step 4

File preparation sequence

4-1

Export IOS

Export your Intraoral Scan as a .STL file and make sure you know where it saved to.

  • Confirm the STL export finishes successfully before leaving the scanner software.
  • Check the save folder immediately so you do not lose the file path later in the submission flow.
Start here so the rest of the transfer and upload flow can happen without searching for missing files later.
4-2

Zip the IOS folder

Right click on the folder and select “Send to” and then “Compressed (Zip) Folder.”

  • Create the zipped folder right after export so the IOS package stays complete.
  • Keep the zipped file name clear enough that staff can identify it during upload.
This keeps the scan package intact and ready to move to the upload computer.
4-3

Transfer the IOS files

Email yourself the zipped IOS folder or move it to your CBCT computer using a flash drive if both systems are not on the same computer.

  • Use whichever transfer method is fastest for your office workflow: email or flash drive.
  • Verify that the zipped IOS file opens on the destination computer before continuing.
The goal is to bring the IOS file into the same submission environment as the CBCT data.
4-4

Export CBCT

Export your CBCT as a .DCM file. The exported folder should contain several hundred files, and you should know where it saved.

  • Confirm the export contains the full DCM folder, not just a single preview file.
  • Make sure the CBCT export location is easy to find for compression and upload.
Treat the CBCT folder as the second required upload package and confirm the full DCM folder is complete.
4-5

Zip and gather on one computer

Compress the CBCT folder, then download your IOS onto your CBCT computer from your email or from the flash drive.

  • At this stage, bring the CBCT zip, the IOS zip, and any support photos together on one machine.
  • Double-check that the upload computer is the same computer you will use inside the DIOnavi portal.
Before submission, bring the CBCT, IOS, and support files together onto one machine.
4-6

Single-upload rule

You can only upload files once during this process, so make sure your CBCT, IOS, and facial photos are all on the same computer before you submit.

  • Pause here and verify every required file is present before opening the final upload window.
  • This is the last readiness check before the portal submission step begins.
This final checkpoint prevents a failed order caused by missing files after the upload window opens.
File prep placeholder Use this area for the export, zip, transfer, and upload-prep infographic.
Page 5 · 5. Complete DIOnavi Order Submission Guide
5 / 6

5. Complete DIOnavi Order Submission Guide

Follow the portal in sequence from login to status tracking after the files are prepared.

Step 5

Portal order sequence overview

Before You Start

This is the shared setup for the full portal workflow below, so keep it here as the overall guide instead of repeating it inside each step.

  • You need a computer with internet access.
  • Your CBCT files should already be exported as DCM and zipped or compressed.
  • Your IOS files should already be exported as STL and zipped or compressed.
Step 5

Portal flow placeholder

Portal placeholder Use this area for the login, order, treatment-plan, and file-upload screen flow.
1

Log In

  • Open order.dionavi.com in your browser.
  • If you do not have an account yet, fill out the form first so DIOnavi can create your username or ID.
  • Log in to your account.
2

Choose Order Type

  • Hover over “Orders” to see the available order types.
  • Select Surgical Guide / DIOnavi for standard non-Full Arch cases.
  • Select DIOnavi Full Arch for Full Arch cases.
  • Select Order Status when you need to check an existing case.
3

General Information (Step One)

  • Add your email address for correspondence, delivery or shipping address, zip code, phone number, chart number if your office uses one, and the patient name. Some fields may auto-populate.
  • Leave Order Type as the default “Normal” for a standard case. Design Only and Fab Option Only exist for special workflows, but are not needed for a standard case.
  • Enter a surgery date with at least 2 weeks turnaround time for the lab.
  • Select PLY/STL (Export Upload Required) if you do not have a direct portal connection.
  • Select PLY/STL (Direct Portal User) if you do have a direct portal connection.
4

Select Teeth / Treatment Plan (Step Two)

  • Click “Step Two: Select Teeth” or “Next,” then highlight the implant location or locations on the tooth chart. If multiple sites share the same lab slip, you can select them together.
  • Check what is needed: Surgical Guide, Fixture if you do not already have one, and Anchor Screws if applicable.
  • Select the case scenario such as Normal, Immediate Placement, Bone Grafting, or Sinus involvement.
  • Choose the Abutment type: Custom, Stock, or Healing. If Custom, choose the material, usually titanium, engaging or non-engaging, and the margin position such as tissue level, -1 mm, or -0.5 mm. Immediate placement typically uses -1 mm.
  • Decide whether you want an Abutment Jig, which is recommended because it helps seat the abutment in the correct position.
  • Choose Prosthetics, including Temporary Crown with the fixed PMMA material, and check the box if you want a screw access hole for a screw-retained restoration.
  • Select a shade if you are doing immediate temporization, add any additional notes such as preferred implant length or size, and then select “Apply.”
5

Submit & Confirm

  • Select “Next” at the bottom. The portal will remind you to upload your CBCT and IOS.
  • The page refreshes to an order confirmation screen where you should verify all information.
  • Scroll to the bottom and select “File Upload” to open the upload window.
6

File Upload

  • Under the first box labeled “CBCT and Scan,” click “Search.”
  • Select your zipped or compressed CBCT and IOS files, then add them to the box.
  • Select “Upload.” The upload usually takes 3 to 5 minutes, depending on file size.
  • When the pop-up appears, click “OK” so the case is actually submitted to the planners.
7

Confirmation

  • You should receive a confirmation email within a minute of clicking “OK.”
  • Additional emails will continue to arrive as the case moves forward, including when a plan is ready for review.
8

Checking Case Status

  • Hover over “Orders” and select “Order Status.”
  • Click “View Details” next to the patient name to review case details or respond to an error or confirmation request.
Page 6 · 6. Others
6 / 6

6. Others

Use direct scanner delivery when available, or mail the impression to the lab using the address below.

Step 6

Direct-send IOS options

You can conveniently send the intraoral scans directly to DIO from your scanner if you have one of these IOS.

3shape Trios

Add our lab using dds-lab@dioimplantusa.com.

Medit

Add our lab using dionavi@dioimplantusa.com.

itero

Add our lab by searching for code no. 88956 or Whitecap Company.

Sirona

Add our lab by searching for Whitecap.

Impression mailing address

If you would like to send an impression, please mail it to our lab at the following address.

  • 734 East Utah Valley Dr. Ste 100 American Fork, UT 84003, Attn: DIOnavi team
Final reminder

Direct-send and mailed impressions are support paths after the main file-prep and submission steps above have been completed in the correct order.